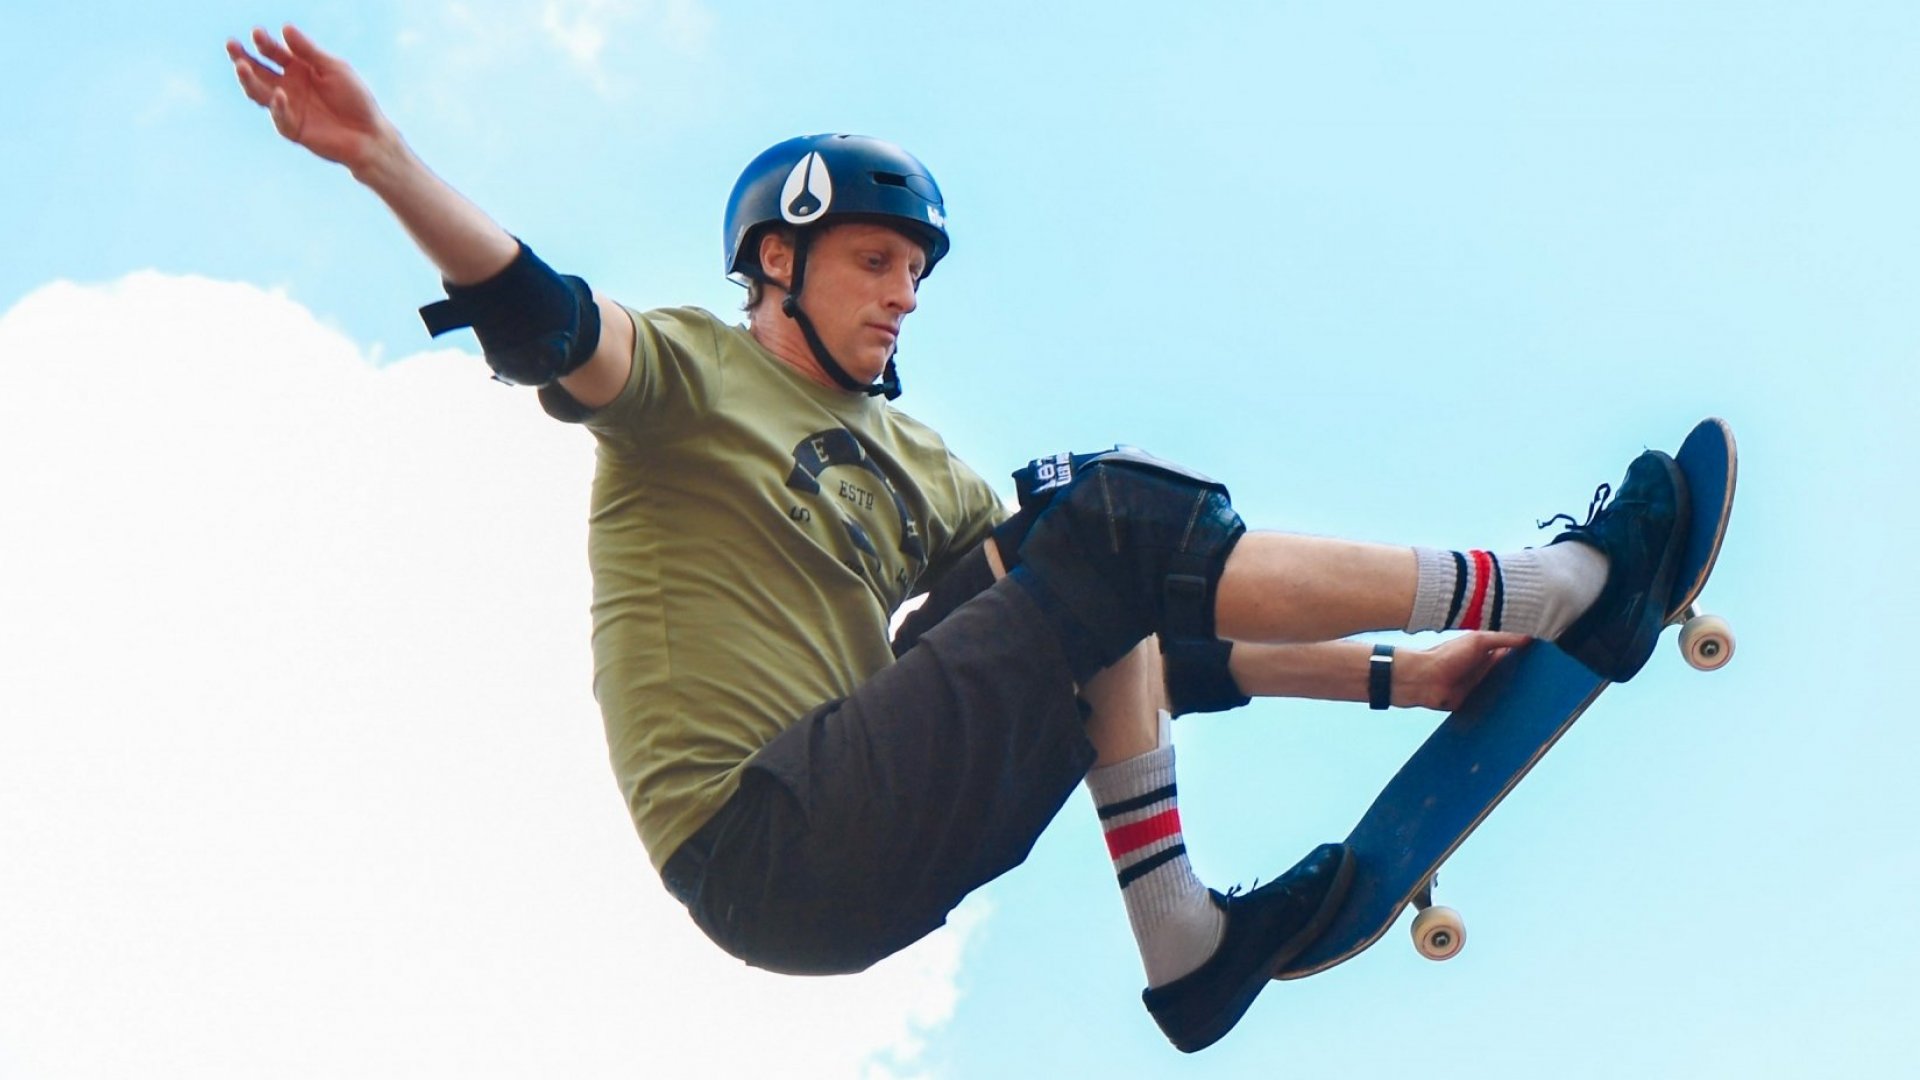
Mastering carving on a longboard involves developing a set of skills that blend balance, precision, and fluid motion. Carving is not only fundamental to longboarding but also enhances the overall riding experience, providing better control and maneuverability. Here’s a comprehensive guide to help you master carving on a longboard.
Understanding Carving
Carving is a riding technique that involves making smooth, continuous turns in an S-shaped pattern. This technique allows riders to control their speed, navigate through tight spaces, and maintain momentum without having to push off the ground frequently.
Choosing the Right Equipment
-
Longboard Type: Opt for a longboard designed for carving. These boards typically have a flexible deck, which aids in making fluid turns. Drop-through and pintail boards are popular choices for carving.
-
Trucks: Trucks should be responsive. Consider reverse kingpin trucks (RKP) as they provide better turning radius and stability at higher speeds.
-
Wheels: Softer wheels (durometer around 78A-85A) provide better grip, which is essential for maintaining control during carves. Larger wheels (around 70-75mm) help in maintaining momentum.
-
Bushings: Soft bushings (durometer around 78A-85A) are preferable as they allow the trucks to turn more easily. Cone bushings can provide more fluid turns compared to barrel bushings.
Body Position and Balance
-
Stance: Adopt a comfortable stance with your feet positioned shoulder-width apart. Your front foot should be angled slightly forward (about 45 degrees), while your back foot should be perpendicular to the deck.
-
Knees: Keep your knees bent to lower your center of gravity. This position enhances stability and allows for better control during turns.
-
Weight Distribution: Distribute your weight evenly between both feet. As you initiate a carve, shift your weight slightly towards your heels or toes, depending on the direction of the turn.
The Technique
-
Initiating a Carve: To start a carve, lean your body in the direction you want to turn. For a toe-side carve (turning left if you ride regular, or right if you ride goofy), press down on your toes. For a heel-side carve (turning right if you ride regular, or left if you ride goofy), press down on your heels.
-
Using Your Hips: Engage your hips in the carving process. Rotate your hips in the direction of the turn to help guide the board. Your shoulders should follow your hips to maintain balance.
-
Arms and Shoulders: Use your arms for balance. Extend your arms out to maintain stability and use them to help initiate and guide turns. Your shoulders should remain aligned with your hips to ensure a smooth carve.
-
Look Ahead: Always look in the direction you want to go. Your body naturally follows your line of sight, so keeping your gaze ahead will help you maintain a smooth carving line.
Practice and Progression
-
Find a Suitable Location: Start practicing on a gentle slope or a flat surface. Avoid steep hills until you’re confident in your carving skills.
-
Start Slow: Begin with slow, wide carves to get a feel for the motion. Gradually increase the sharpness and frequency of your turns as you become more comfortable.
-
Practice Linking Carves: Work on linking your carves smoothly from toe-side to heel-side. The goal is to create a seamless S-shaped pattern without any jerky movements.
-
Focus on Fluidity: Aim for fluid, continuous motion. Avoid abrupt changes in direction or speed. The smoother your carving, the better control you’ll have.
Advanced Techniques
-
Deep Carves: As you gain confidence, practice deeper carves. Push your limits by leaning more into your turns, which will require more precise weight shifting and balance.
-
Speed Control: Use carving as a method to control your speed on downhill slopes. By making wider, more frequent carves, you can reduce your speed without having to foot brake.
-
Sliding: Once comfortable with carving, you can start incorporating slides to manage speed and navigate turns. Sliding involves breaking the traction of your wheels to allow the board to slide sideways.
Common Mistakes to Avoid
-
Stiff Body: Avoid riding with a stiff body. Flexibility and fluid movement are key to effective carving.
-
Uneven Weight Distribution: Ensure you’re not putting too much weight on one foot. Balanced weight distribution is crucial for smooth turns.
-
Looking Down: Keep your head up and eyes forward. Looking down at your feet can throw off your balance and hinder your ability to navigate smoothly.
Safety Considerations
-
Protective Gear: Always wear a helmet to protect your head. Knee pads, elbow pads, and wrist guards are also recommended to minimize injury in case of a fall.
-
Inspect Your Gear: Regularly check your longboard for any signs of wear and tear. Ensure that the trucks are properly tightened, the wheels are in good condition, and the bushings are not worn out.
-
Awareness: Be aware of your surroundings. Look out for obstacles, pedestrians, and vehicles, especially when practicing in public areas.
Conclusion
Mastering carving on a longboard is a blend of the right equipment, proper technique, and consistent practice. Start with the basics, gradually challenge yourself with more advanced techniques, and always prioritize safety. As you progress, you’ll find that carving not only enhances your longboarding experience but also provides a rhythmic and exhilarating way to ride. With dedication and practice, you’ll be carving like a pro in no time.

